If you're tired of battling hard water, installing a water softener is the single best move you can make. The process boils down to three key actions: testing your water, sizing the system correctly, and hooking it into your main water supply. Getting an accurate read on your water quality is the critical starting point; getting it wrong leads to frustrating and costly problems. This guide provides actionable insights to help you enjoy the value of soft water, from protecting your appliances to improving your daily comfort.
First, You Have to Understand LA's Hard Water Problem
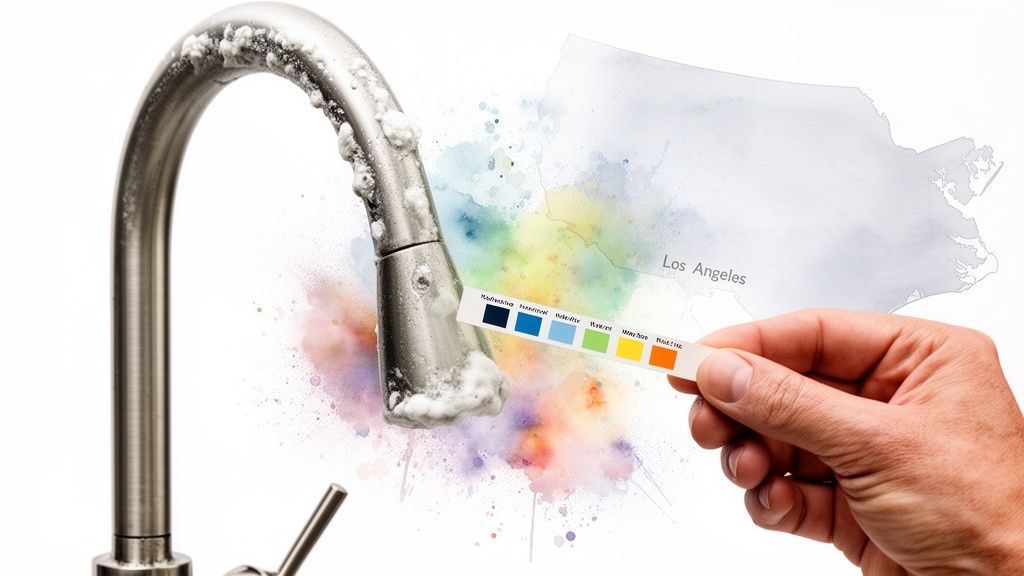
Before touching a pipe, you need to understand the challenge. Los Angeles is infamous for its hard water, which is saturated with minerals like calcium and magnesium. These minerals leave stubborn white spots on glassware, create chalky buildup on showerheads, and damage your appliances over time. This is why a water softener is such a valuable investment.
Over 85% of households in California deal with hard water, with levels often exceeding 180 mg/L of calcium carbonate. That’s why powerful salt-based systems, known for their ion-exchange technology, dominate the market, making up 68.24% of all installations. They are a proven, effective solution.
What Does "Grains Per Gallon" (GPG) Even Mean?
You'll see this term everywhere, so let's clarify it. Water hardness is measured in Grains Per Gallon (GPG). Think of it as a score for how much dissolved rock is in your water. The higher the GPG number, the harder your water is and the more work your softener has to do.
Here’s a clear breakdown:
- 1-3 GPG: Slightly hard
- 3-7 GPG: Moderately hard
- 7-10 GPG: Hard
- 10+ GPG: Very hard (common in many LA neighborhoods)
Knowing your home's specific GPG is the critical first step. Without this number, you’re just guessing.
Actionable Insight: Purchase a simple DIY water hardness test kit from a hardware store. For a few dollars, you'll get the exact number you need to choose the right system.
Calculating What Your Household Actually Needs
Sizing a water softener is about two things: how much water you use and how hard that water is. Many people make a costly mistake here. A system that's too small will constantly regenerate, wasting salt and water. A system that's too large means you’ve overspent on unnecessary capacity.
The goal is to find a softener that regenerates about once a week. This strikes a perfect balance between efficiency and performance, giving you an uninterrupted supply of soft water without wasting resources. This consistent cycle is your key to long-term savings.
Let's look at a practical example to make this clear.
A Real-World Scenario: Sizing for a Family in the Valley
Imagine a family of four—two adults, two teenagers—living in a typical home. We'll use their data to find the right system.
Actionable Insight: Find Your Daily Water Use. On average, each person uses about 75 gallons of water a day.
- 4 people x 75 gallons/person = 300 gallons per day
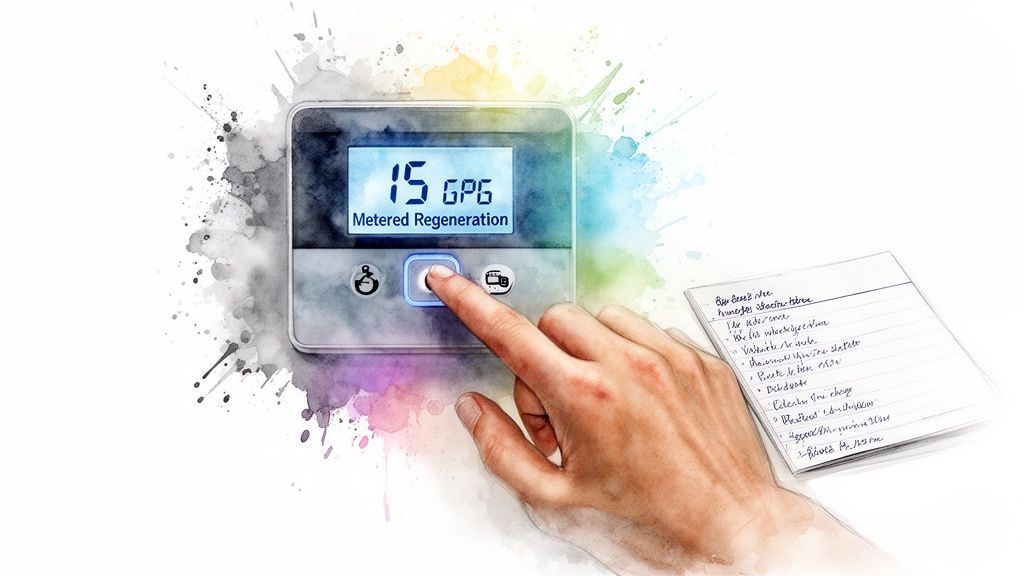
Actionable Insight: Calculate the Daily Hardness Load. They test their water and find it’s 15 GPG.
- 300 gallons/day x 15 GPG = 4,500 grains of hardness to remove daily
Actionable Insight: Determine the Weekly Capacity. Multiply that daily load by 7 days to find the ideal capacity for a weekly regeneration cycle.
- 4,500 grains/day x 7 days = 31,500 grains
For this family, a 32,000-grain capacity water softener is the perfect match. It's correctly sized to handle their needs and regenerate about once a week, keeping things running efficiently. The value here is a system that works perfectly without constant waste.
Getting this calculation right is the most important part of the entire process. For a deeper look into dealing with mineral buildup, take a look at our guide on how to get rid of hard water.
To simplify this even further, here's a quick reference table for common household sizes in Los Angeles.
Water Softener Sizing Quick Reference for LA Households
This table provides a good starting point for estimating the grain capacity you'll need based on your family's size and the typical water hardness found across LA.
| Family Size | Average Daily Water Use (Gallons) | Typical LA Hardness (GPG) | Recommended Softener Capacity (Grains) |
|---|---|---|---|
| 1-2 people | 150 | 12-18 GPG | 24,000 |
| 3-4 people | 300 | 12-18 GPG | 32,000 – 48,000 |
| 5-6 people | 450 | 12-18 GPG | 48,000 – 64,000 |
| 7+ people | 600+ | 12-18 GPG | 64,000 – 80,000+ |
Remember, this is an estimate. Your actual water usage and hardness level might vary, so always test your water to confirm before making a final decision.
Assembling Your Tools and Materials
A smooth installation depends on having everything you need before you start. This preparation is the difference between a clean, professional job and a frantic scramble. This isn't just a generic list; it’s tailored for common Los Angeles plumbing setups.
Before you shut off the main water, get your tools and parts laid out. Organizing everything first will cut your installation time in half and prevent major headaches.
Essential Tools for the Job
While every installation has unique aspects, some tools are non-negotiable for installing a water softener.
Practical Example: If you're working with PEX—common in newer LA homes—a dedicated PEX crimper will provide a far more reliable seal than a generic clamp. This one tool can prevent a future leak.
Here’s what you absolutely need:
- Pipe Cutters: Use a cutter designed for your pipe type (copper, PEX, or PVC). A clean, square cut is essential for a leak-proof joint.
- Two Adjustable Wrenches: Use one to hold a fitting steady while the other tightens. This prevents twisting and damaging your existing plumbing.
- Teflon Tape: A must for sealing threaded connections. A few extra wraps is cheap insurance against a slow drip.
- Drill with Bits: Needed to secure the unit and run drain lines.
- Level and Tape Measure: Precision is key. The softener must be level to function correctly, and measuring twice prevents wasting pipe and fittings.
Actionable Insight: Have a bucket and old towels ready. No matter how well you drain the lines, there’s always leftover water that can make a mess.
Gathering Your Core Materials
Now for the components. The quality of these parts directly affects your softener's performance and lifespan. This is not the place to cut corners.
Actionable Insight: Always use flexible stainless steel connectors to hook up the softener. They absorb system vibrations, making it run quieter, and they simplify future maintenance, adding long-term value.
Your shopping list for materials should include:
- Water Softener Unit & Bypass Valve: The core of the system. The bypass valve is critical—it lets you service the softener without cutting off water to the whole house.
- The Right Fittings: You'll need specific fittings to match your main water line, usually ½-inch or ¾-inch adapters.
- Drain & Overflow Tubing: Get enough tubing to comfortably reach your designated drain and a secondary overflow point, as often required by local codes.
- Air Gap Fitting: This is a non-negotiable code requirement in Los Angeles. It prevents dirty drain water from being siphoned back into your fresh water. Do not skip it.
- Water Softener Salt: With LA's hard water, stick to high-purity salt pellets. They dissolve cleaner and help prevent issues like salt bridging in the brine tank.
For a deeper dive into the different types of units available, you can learn more about a whole house water softener system and see which one makes sense for your home. Getting these materials right ensures your system is effective, compliant, and built to last.
Your Hands-On Installation Walkthrough
This is where planning pays off as we connect the system to your home. The goal is a clean, professional-looking, and leak-free installation that will provide soft water for years. The value of doing this right is long-term peace of mind.
First, find the best location. Place your unit as close as possible to where the main water line enters your house—often the garage, basement, or a utility closet. It needs to be on a level spot with a power outlet and a drain nearby.
Pinpointing the Perfect Installation Spot
Choosing the right spot impacts how well the softener works and how easy it is to service. A poor location can cause drainage problems, pressure loss, and maintenance headaches.
Here's my checklist for the ideal spot:
- Before the Split: Install the softener before the main water line branches off to your water heater. This provides both hot and cold softened water throughout the house.
- A Place to Drain: The softener needs to flush minerals during its regeneration cycle. A floor drain, laundry sink, or a dedicated standpipe are your best options.
- Solid, Level Ground: The softener tank must be perfectly level to function correctly.
- Elbow Room: Leave enough space to walk around it, add heavy bags of salt, and perform maintenance easily.
Taking a few extra minutes to confirm your spot will save you hours of frustration later.
Prepping for the Plumbing Work
With the location set, it's time to prepare. First, shut off the water to your entire home using the main shutoff valve.
Next, open the lowest faucet in your home (like an outdoor spigot) and the highest one (an upstairs shower). This drains most of the water out of your pipes, minimizing the mess when you make your first cut.
Actionable Insight: Keep a bucket and towels directly under your work area. Pipes are never completely empty, and this simple step will keep your floor dry.
Cutting In and Installing the Bypass Valve
This part can seem intimidating, but it's straightforward with the right approach. You will cut into your main water line to install the softener. Remember: measure twice, cut once.
Hold the bypass valve assembly up to the pipe and use a marker for your cut points. A clean, square cut is essential, so use a proper pipe cutter for your specific material.
Once the section is out, fit the bypass valve. This device is a lifesaver for future maintenance, letting you take the softener offline without shutting off water to the house. Secure it with the right fittings for your pipe type.
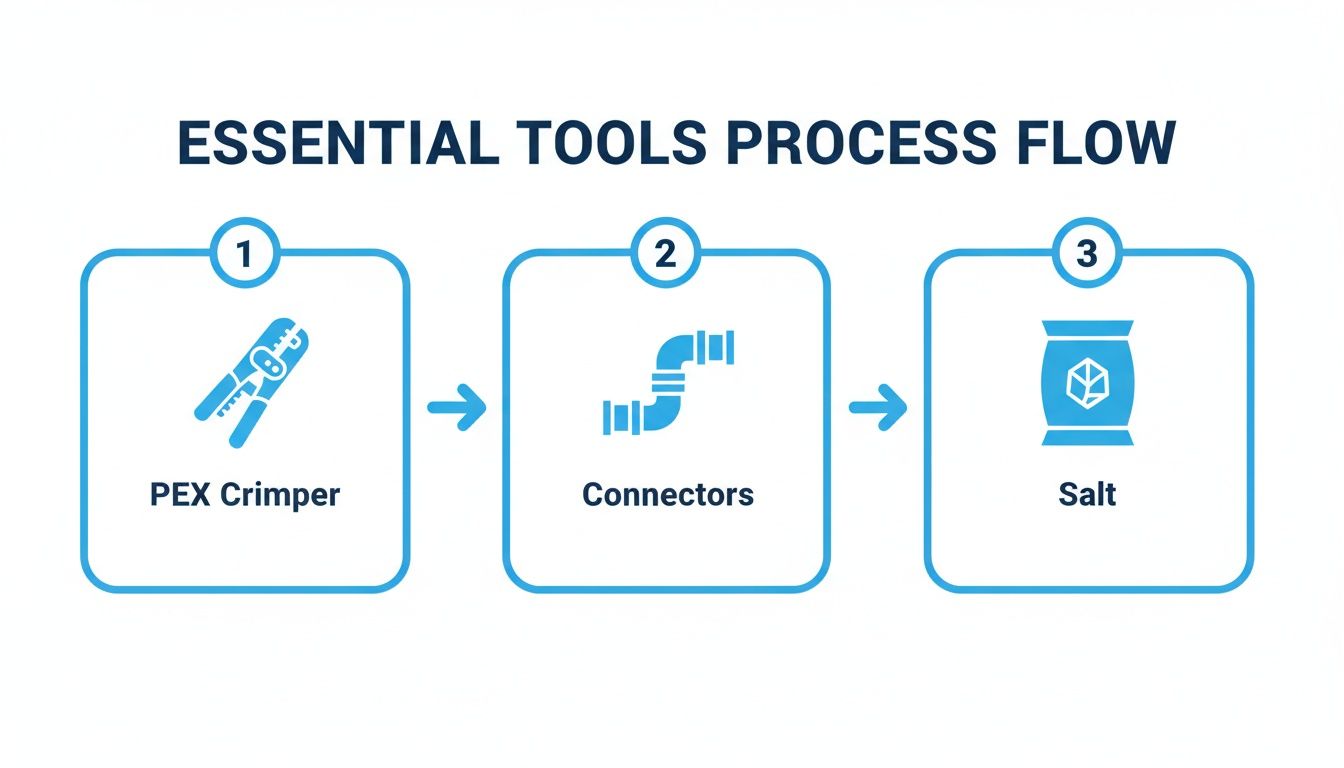
As you can see, having the right tools for the job, like a PEX crimper, is what ensures you get those secure, professional connections.
Running the Drain and Overflow Lines
Many DIY installations go wrong at this stage. You have two lines to run, and both are crucial for safety and meeting LA building codes.
- The Drain Line: This line carries out salty brine during regeneration. Run it to your drain, but you must install an air gap. This fitting prevents contaminated drain water from ever being siphoned back into your fresh water supply.
- The Overflow Line: This is a safety valve. If the brine tank overfills, this line directs excess water to a floor drain, preventing a flood. Never connect it directly to the main drain line.
Actionable Insight: Ensure both tubes are secured, free of kinks, and have a steady downward slope to let gravity work effectively.
The Final Steps: Loading and Leak Checking
With the plumbing complete, it's time to bring the system to life. If your resin media came in a separate bag, pour it into the mineral tank first. Then, fill the brine tank about halfway with high-quality water softener salt pellets.
Now, go back to your main water shutoff and open it slowly—just a quarter turn at first. This lets the system fill gradually and avoids a "water hammer," a sudden pressure jolt that can damage pipes.
As it fills, use a flashlight to inspect every connection you made. Look for even the smallest drip. Once you're certain everything is dry, open the main valve all the way. Finally, turn the bypass valve to the "Service" position to send water through your softener.
Following these steps will get you through the physical installation. For anyone looking to document a complex project like this, learning how to create a step-by-step guide is a great skill for ensuring clarity. Your system is now installed and ready for programming.
Programming Your Softener for Peak Efficiency
With the plumbing done, you're about 80% finished. The final 20%—programming the control valve—is what makes the difference. This turns a simple tank into a smart, water-saving machine. Getting these settings right unlocks the real performance and value of your investment.
Dialing in Your Specific Water Hardness
The most important number you’ll enter is the water hardness level (your GPG number). This figure, from your initial water test, dictates the entire regeneration schedule. It tells the system how much work it can do before it needs to clean itself. Accuracy here is everything for efficient operation.
Metered vs. Timed Regeneration
Modern softeners offer choices in how they trigger a cleaning cycle. For water-conscious LA residents, understanding the difference is crucial.
Timed Regeneration: This is an older method. The softener runs a cycle on a fixed schedule (e.g., every three days), regardless of water usage. This can waste salt and water or fail to provide soft water when you need it most.
Metered Regeneration: This is the "smart" option. The system tracks your water usage and only regenerates when its softening capacity is spent, adapting to your household's actual needs.
Actionable Insight: For LA homeowners, a metered, on-demand system is the best choice. It slashes water and salt use, lowering utility bills and reducing your environmental footprint. This is the key value proposition of a modern system.
The smart water softener market is projected to grow by USD 317.8 million between 2025 and 2030, driven by demand in places like LA. With over 90% of California water districts dealing with hard water, an efficient system can prevent the $1,000+ annual cost of scale buildup and extend appliance life by 30-50%.
A Practical Programming Example
Let’s return to our family of four in the San Fernando Valley with their 15 GPG water. After installing their 32,000-grain unit, they would program it as follows:
- Set the Hardness value to 15.
- Select the Metered (or "On-Demand") regeneration mode.
- Set the regeneration time to 2:00 AM. This is an ideal time because no one is using water.
That’s it. The system now knows to regenerate only after about 2,133 gallons of water have been used (32,000 grains / 15 GPG), perfectly matching their family's usage.
Initiating the First Manual Regeneration
Before you finish, there's one last step. Press and hold the manual regeneration button to start the first cycle.
This action accomplishes two things:
- It confirms that all internal cycles (backwash, brine draw, rinse) are working correctly.
- It settles the new resin bed and ensures the system is fully charged to deliver soft water immediately.
Listen for the sounds of water moving through the system. Once the cycle finishes, you’re officially done.
One final tip: if your water tastes a bit salty right after installation, don't panic. For more on that, check our guide on reasons your water might taste salty with a water softener.
Knowing When to Call in a Professional
While there’s pride in a successful DIY project, installing a water softener is complex. Sometimes, the smartest move is calling an expert. This isn't about giving up; it's about protecting your home and investment. Knowing your limits can save you from a plumbing disaster and ensure your system delivers the value you expect.
Clear Signs You Should Call a Pro
Some situations are clear signals to bring in a professional. If you encounter any of these, pause and reconsider the DIY route.
You Have Old Galvanized or Corroded Pipes: If your home’s plumbing is old, rust-prone galvanized steel, do not cut into it yourself. It can be brittle and crumble, turning a simple job into a major flood.
There’s No Obvious Place to Connect: If you can't confidently find the main supply line before it splits to the water heater, it’s not worth the gamble. A wrong cut is a massive headache.
You Have Extremely Limited Space: Forcing a softener into a tiny closet or crawlspace can lead to bad connections, kinked lines, and a system that’s a nightmare to service.
An experienced installer has worked in every tight spot imaginable. They have the right tools and techniques to ensure every connection is solid, preventing future maintenance headaches.
The Hidden Value of a Professional Installation
Hiring a professional is an investment in peace of mind and long-term performance. While some parts of a water softener installation are manageable, it often pays to use professional plumbing services, especially with tricky piping.
An experienced installer provides significant value:
Guaranteed Code Compliance: A pro knows local LA plumbing codes, like air gap requirements. This keeps your installation safe, legal, and free of issues during a future home inspection.
Expert Sizing and Placement: They'll confirm your sizing calculations and find the best spot for the unit to maximize efficiency and simplify future servicing.
Warranty Protection: When a certified company does the job, you get a full warranty on the equipment and the labor. If a fitting you installed leaks, that repair bill is on you.
Time and Tools: A seasoned tech can complete an installation in 2 to 4 hours. They arrive with every fitting and tool needed, saving you a weekend of work and multiple trips to the hardware store.
The Financial Argument for Getting It Done Right
It’s easy to focus on the upfront installation cost, but hard water is already costing you money daily.
Practical Example: Scale buildup from hard water can reduce your water heater’s efficiency by 20-30%. This forces it to work harder and fail years early, leading to replacement costs of $1,500-$3,000 that could have been avoided. You can find more details about these hard water costs from market research.
When you look at it that way, a professional installation isn't just a cost. It's insurance—a guarantee that your investment starts protecting your home and saving you money from day one.
Got Questions? We’ve Got Answers
Even with clear instructions, questions can arise. Here are the most common ones we hear from LA homeowners.
How Long Does a Water Softener Installation Take?
This depends on who is doing the work. A seasoned pro can typically have a system running in 2 to 4 hours.
Actionable Insight: If you’re doing it yourself for the first time, block out a full day. This gives you time to work carefully, double-check your connections, and make a trip to the hardware store if needed.
Will My Drinking Water Taste Salty?
This is a common misconception; the answer is no. The process adds a tiny amount of sodium, not the table salt (sodium chloride) you taste. The amount is incredibly small, often less than in a slice of bread, and unnoticeable to most people. If you are on a strict low-sodium diet, you can pair your softener with a reverse osmosis system for drinking water.
What’s the Maintenance Like After It's Installed?
Modern water softeners are very low-maintenance. Your only real job is to keep the brine tank filled with salt.
- Actionable Insight: Add Salt Regularly. Depending on your water use, you'll likely need to add a bag of salt pellets every 6 to 8 weeks.
- Actionable Insight: Check for Salt Bridges. Occasionally, look inside the tank for a hard crust ("salt bridge") over the water. If you see one, gently tap it with a broom handle to break it up.
That's it. The system manages its own regeneration, providing a steady supply of soft water without hassle.
Do I Really Need a Permit to Install a Water Softener in LA?
In most parts of Los Angeles County, yes. A permit is typically required when you cut into your home's main plumbing lines. This ensures the work is safe and meets local codes.
The most important code requirement they check for is a proper air gap on the drain line. This non-negotiable safety feature creates a physical break between the drain hose and your home's wastewater pipe, making it impossible for contaminated water to be siphoned back into your clean water supply.
A professional installer will handle permits and ensure your system is fully compliant. This is one of the most significant value-adds of hiring a pro.
Ready to stop fighting hard water and start enjoying the benefits of a professionally installed system? The team at Praz Pure Water, Inc. has over two decades of experience providing Los Angeles homes with reliable, high-quality water solutions. Contact us today for a personalized water assessment and see how easy it is to get perfectly soft water.